Using the Parcelninja API with Postman
The Parcelninja API exposes all Parcelninja functionionality so that you can write web applications or make custom calls which interact with Parcelninja on your behalf.
All endpoints and functions are well documented in the Parcelninja API Documentation available at https://docs.parcelninja.apiary.io. For reference, please make sure you have glanced over the documentation (a thorough reading isn’t necessary for this guide).
In this post I’m going to show you how to make queries to the API using Google’s Postman.
Step 1
Make sure you have your Parcelninja API key and password for your account. Remember, we use Basic Authentication over SSL for all requests.
Step 2
Download and install Postman.
Step 3
Download the Parcelninja Postman Collection which will load all the Parcelninja endpoints into Postman.
- Unzip the Parcelninja Postman Collection file.
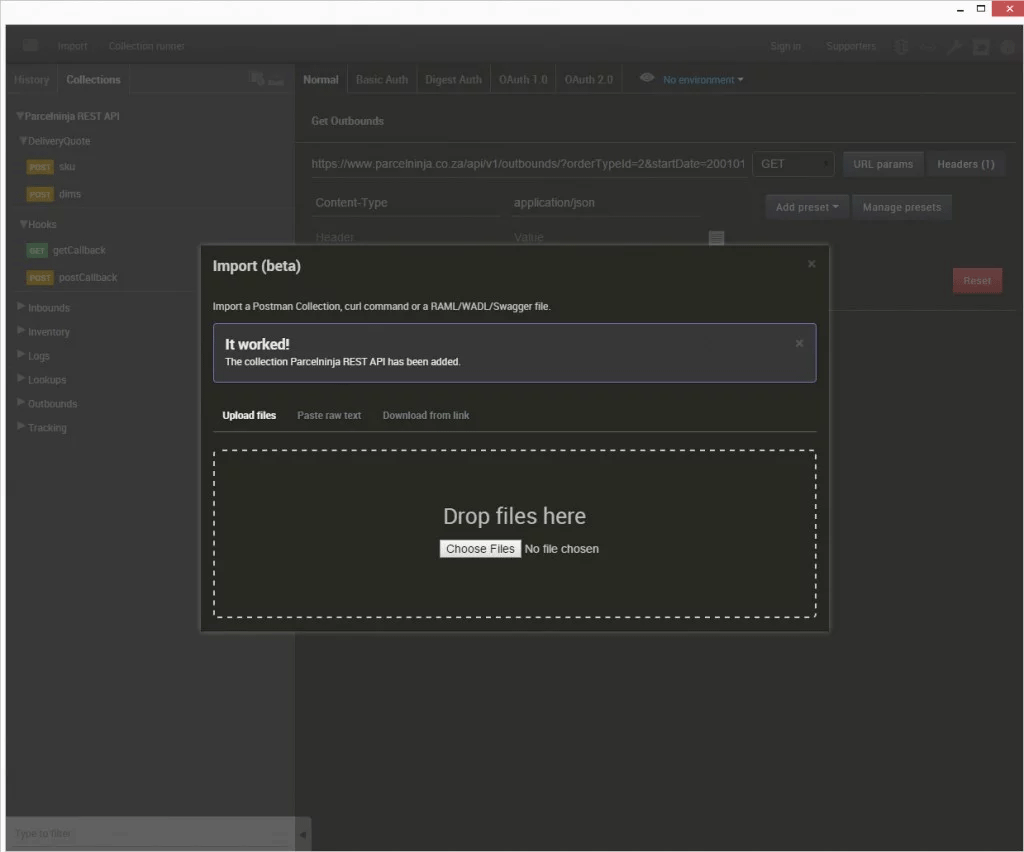
- In Postman click Import at the top left of the window.
- Upload the unzipped Parcelninja Postman Collection file.
Step 4
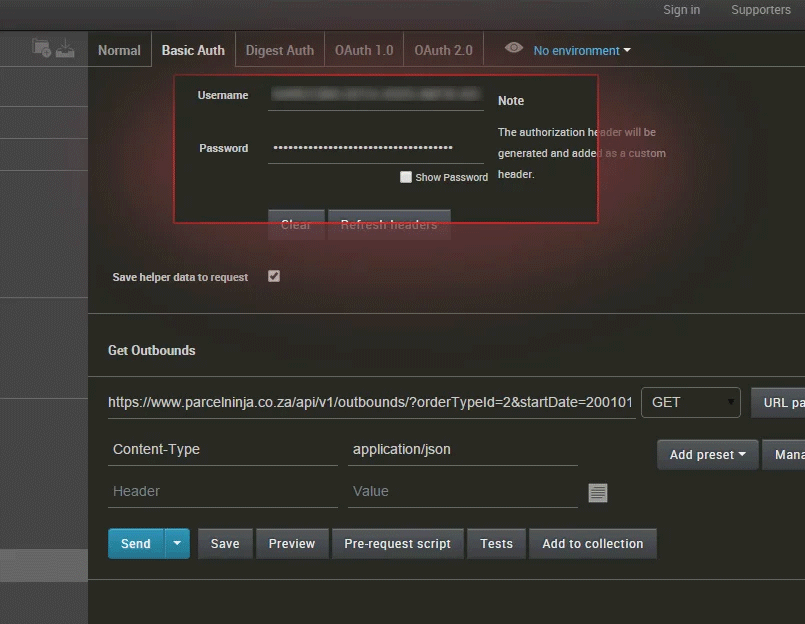
Choose an endpoint on the left (Outbounds > Get Outbounds as an example) then select the Basic Auth tab at the top of the window. Input your Parcelninja API credentials here. Click Refresh Headers once done.
Step 5
You can now click Send and inspect the responses.
Copy/pasting the response into www.jsoneditoronline.org is pretty helpful for inspecting and validating JSON data.